1. Creating a new Postbox
From the main menu on the left, select Send:

Click on Create new:

2. Make sure Postbox is selected:
Make sure that Postbox is selected (toggle should be red and facing towards Postbox)

- Ignore Teambox for now unless multiple users will use it
Postbox names must be unique within your account.
3. Enter the Postbox name
- Pick something clear and specific (e.g. “Finance - Leeds”, “Legal Returns”)
4. Choose the letter Type
No split, they're separate letters - choose that if your document contains only one letter.
Split by page - choose if your PDF contains multiple recipients.
- If you are uploading a mail merge and each letter is made of a fixed number of pages, choose this option.
- We'll identify that each letter is going to a new recipient based on how many pages you choose the letters are split by.
E.g.: If you have a 100 paged PDF file containing 2 paged letters, enter 2 on the Page box to split the letter by 2 pages.
Split by keyword - if your PDF contains multiple recipients with varying page count.
- If you are uploading a file that has a varying number of pages going to each recipient, this split type will identify each letter by searching for a keyword.
- The keyword must be on the first page of every letter and in the same position each time. Be aware keywords are case-sensitive.
It is recommended to use Split by Keyword only for letters that are system-generated.
If the keyword is not consistently positioned in each letter, there is a possibility that the letters may not be split accurately.
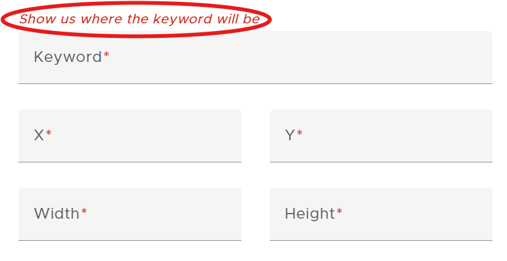
- Select Show us where your keyword will be.
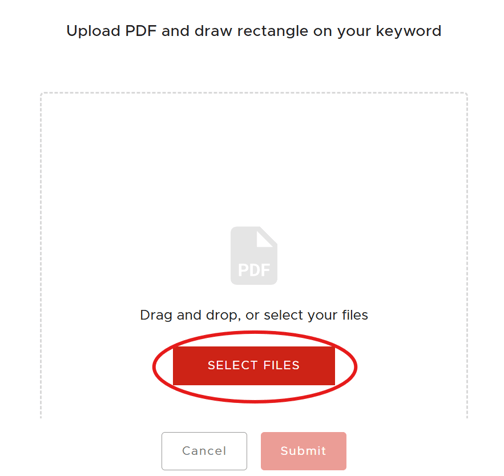
2. Click on Change PDF and select the PDF that includes your keyword.
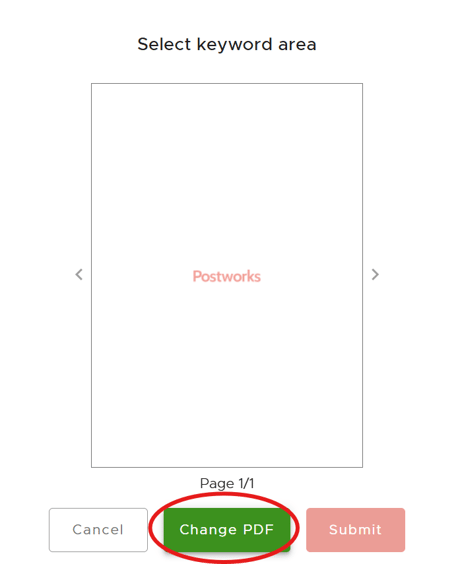
3. Select the Watchzone (red box) by drawing it out - our system will look for the keyword in this area.
- The watchzone should be big enough to ensure the keyword is captured each time. It doesn't matter if there is other data within the watchzone area.
- Examples of common keywords that can be used include "Our ref," "Page 1," "Date," and "Dear."
- In the example below, we've chosen the word 'INVOICE' as a keyword.

4. Click on Submit.
5. Ink:
Choose Black or Colour based on the ink you want the letters to be printed with.
6. Posted:
Choose between 1st Class, 2nd Class or Priority.
7. Advanced Settings:
Do you want these documents printed:
- Single-sided printing - prints only on one side of the paper. This often essential, for example when sending a form that has to be filled in.
- Double-sided printing - prints on both sides of the paper. It is more cost-effective and saves trees as it uses less paper - this is selected as default.
-
-
PBID (Advanced Users Only)
-
A PBID (or Postbox ID) is a code that activates a Workflow™, which is an automated routine that regularly performs tasks with your documents. These tasks may include adding letterheads, specific attachments and setting default print settings.
Workflows™ can also be triggered based on content, sender, filename or PDF metadata.
-
- Display Add attachments on upload
When you upload a PDF, you will be prompted to add attachments if it's enabled.
-
- Add Digital Reply Envelopes
When you activate this feature, a digital reply envelope will be automatically added to all items uploaded to your Postbox. For more information on what a digital reply envelope is, please refer to this article.
-
- Make this my default Postbox
8. Select Save to store your preferences for future use.
Now, let's Post a letter.